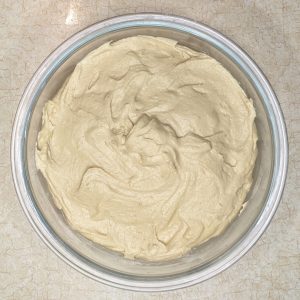
Keeping healthy snacks on hand is one of the simplest ways to improve your diet, and hummus is an excellent choice. Not only is it delicious and easy to store, but it’s also nutritious, affordable, and pairs perfectly with vegetables, pita, Naan, or chips. This version boasts a bold garlic flavor, a touch of zesty lemon, and a wonderfully smooth, fluffy texture.
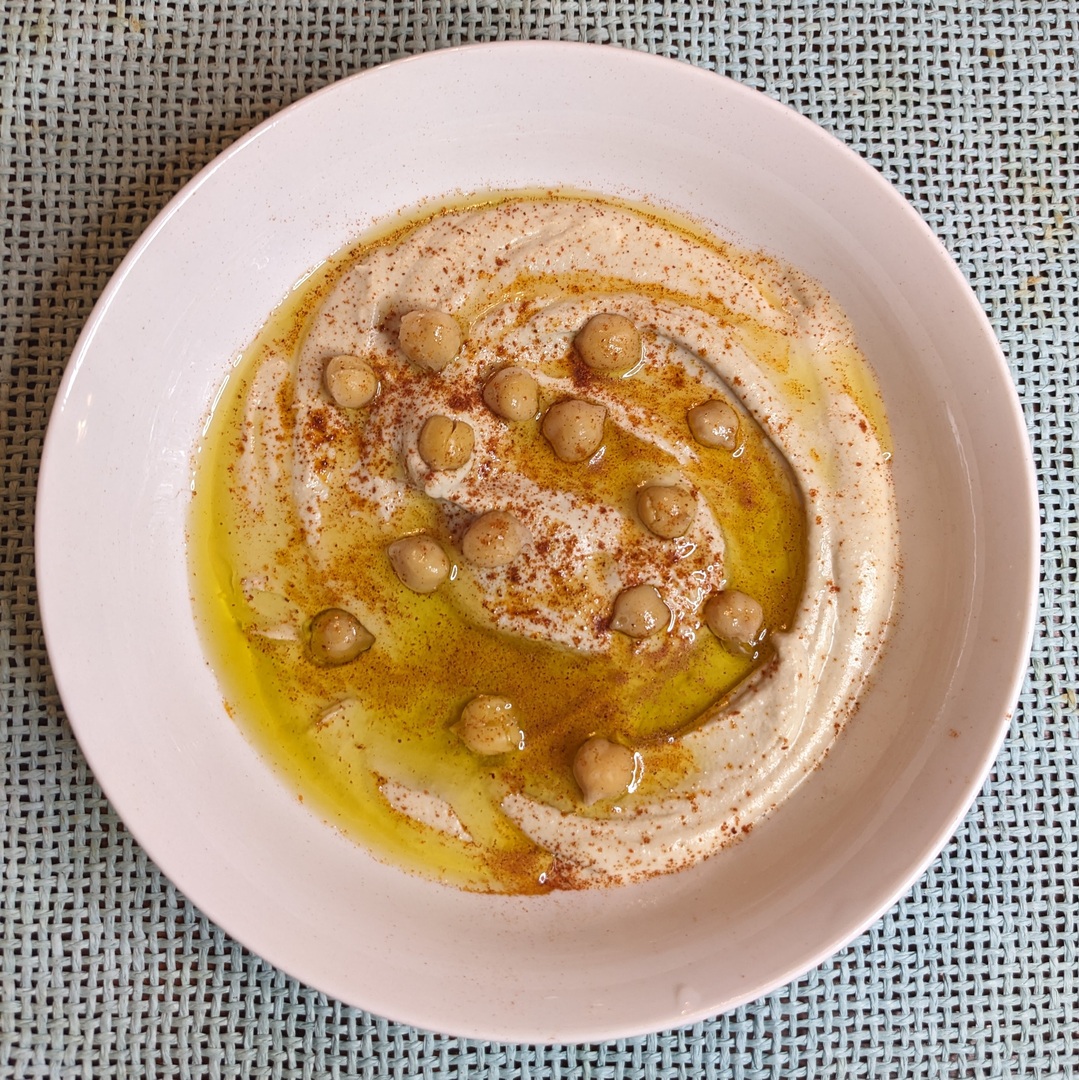
Is Hummus Really Healthy?
The nutritional content of hummus is tough to beat:
- chickpeas — plant-based protein, fiber, essential minerals and folate
- tahini — healthy fats, plant-based protein, minerals, antioxidants, fiber
- olive oil — healthy fats, polyphenols including oleocanthal and vitamin E
- lemon juice — vitamin c, flavonoids
- garlic — allicin, vitamin C, vitamin B6
About this Recipe
I’ve been happily making hummus using this recipe from Cookie+Kate. It’s an excellent recipe, much better and more affordable than what I could find in the store. One day, I wanted to make hummus and I had some free time, so I decided to re-read the recipe. I noticed that it referenced a hummus recipe from Serious Eats. I’m a big fan of Serious Eats so I went down that rabbit hole.
The recipe on Serious Eats used a couple of techniques that I wasn’t using that they said improved the garlic flavor, and produced smoother hummus. I decided to try it. It did have great garlic aroma and flavor — rich, but sweet, not sharp or hot, and a smooth, fluffy texture. However, it was complicated to make, and I wasn’t a fan of the carrots.
The next time I made hummus, I decided to try to combine the two recipes, and simplify the process. I’m really happy with the results. It’s smooth and fluffy, has a bold, smooth garlic flavor, and isn’t overly complicated to make. I hope that you like it too.
Getting Great Garlic Flavor
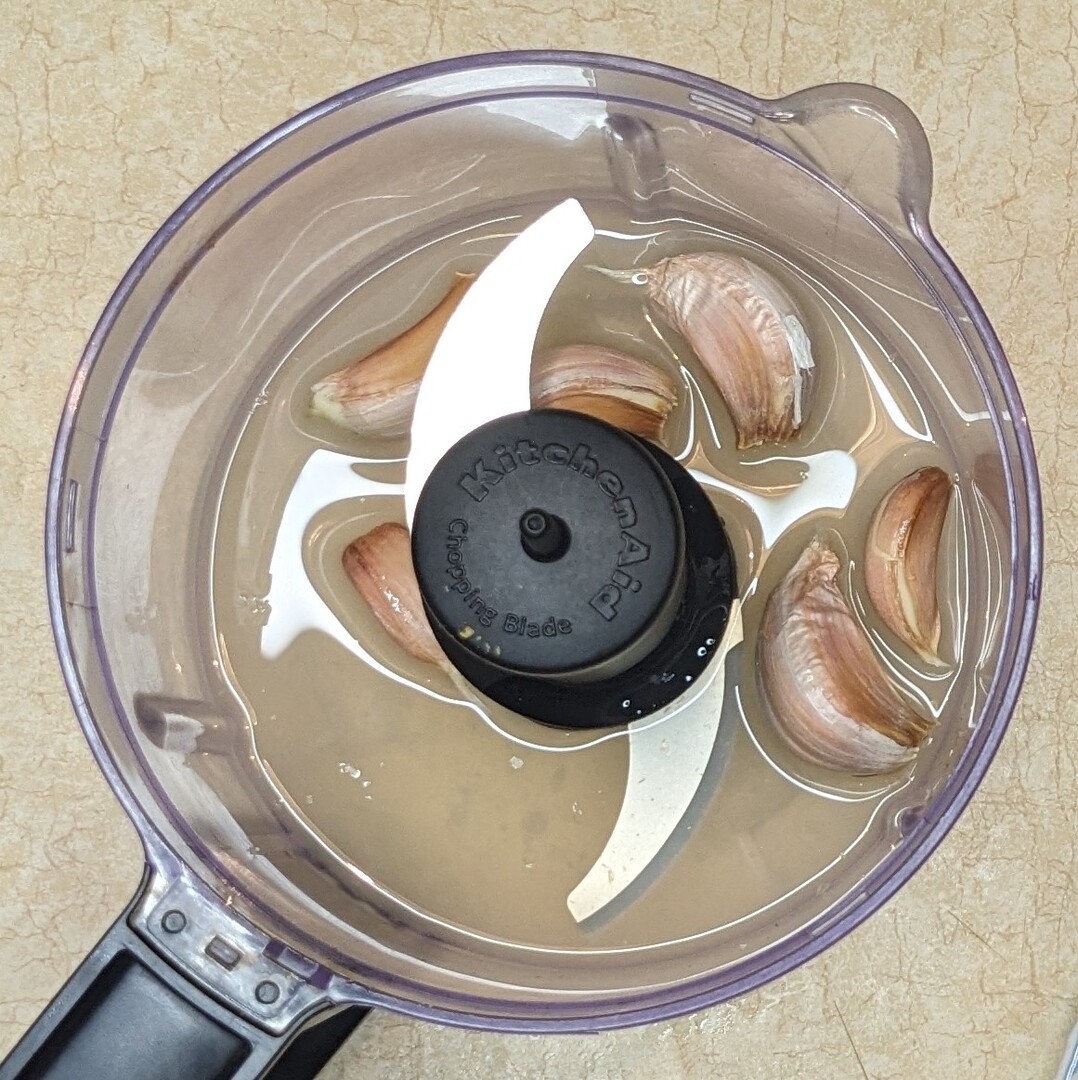
Serious Eats explains that the key to getting bold, smooth garlic flavor, is to the lower pH by puree whole cloves in lemon juice, allowing the mixture to rest for a few minutes, then straining out the solids.
Smooth & Fluffy
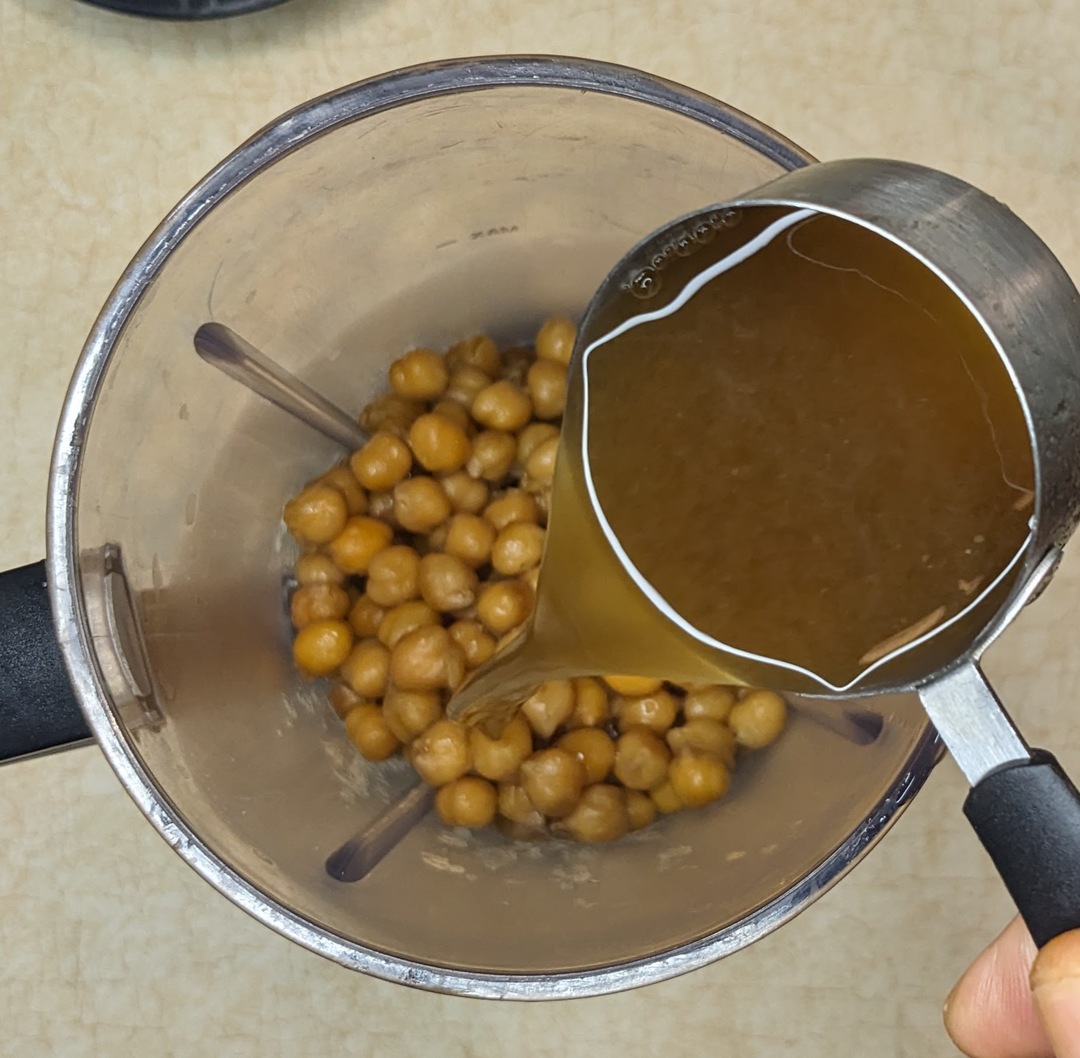
As described by Serious Eats, this recipe uses two techniques to make it extra smooth — cooking chickpeas with baking soda for an extended period, and blending the chickpeas with the cooking liquid (aquafaba) while it’s hot in a blender rather than a food processor.
Smooth & Fluffy Hummus
Equipment
- Pressure Cooker optional
- Blender optional
- Food Processor
- Mesh Strainer
Ingredients
Chickpeas
- ¾ cup dry chickpeas See note if using canned beans
- 6 cup water
- 1 teaspoon baking soda
- 1½ teaspoon salt
- 1 bay leaf
Other Ingredients
- 2 lemon
- 7 cloves garlic with skins on
- ½ cup tahini
- 1 teaspoon ground cumin
- ½ teaspoon fine sea salt
- 2 tablespoon olive oil
Instructions
- Rinse ¾ cup dry chickpeas. Add chickpeas, 6 cup water, 1 teaspoon baking soda, 1½ teaspoon salt and 1 bay leaf to pressure cook. Cook on high pressure for 1:20. Let pressure release naturally.
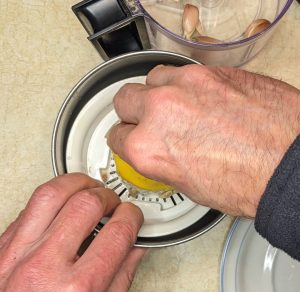
- Poke a few holes in 2 lemon and microwave for 30 seconds. Then juice the lemons.
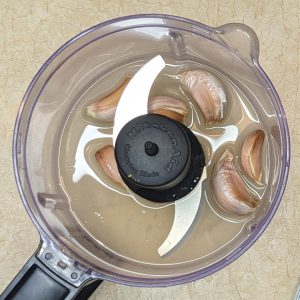
- Add lemon juice and 7 cloves garlic with the skin on in food processor. Puree until smooth. Let rest for at least 5 minutes.
- In a fine-mesh strainer, drain the chickpeas, reserving the aquafaba (water the chickpeas were cooked in).
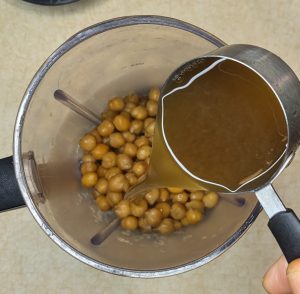
- While still hot, blend chickpeas and 1 cup of the reserved aquafaba in a blender until smooth, or you can't blend any longer.
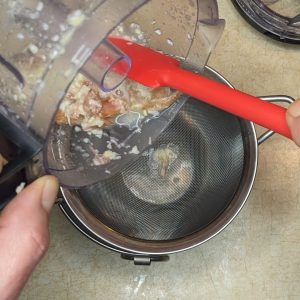
- Using a a fine mesh strainer, strain garlic and lemon into a bowl.
- Make sure that you get all the garlic skins out of the food processor, then add garlic/lemon juice, ½ cup tahini, 1 teaspoon ground cumin, ½ teaspoon fine sea salt. Puree until it forms a paste.
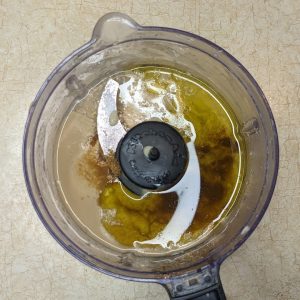
- Add 2 tablespoon olive oil and chickpeas to food processor and puree until smooth.
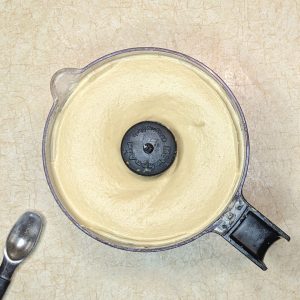
- Refrigerate in a covered bowl until ready to serve
